Manage the visitor queue
The visitor registry works like a bank/hospital token queue: the front desk registers a visitor, the concerned department is asked to approve, the visitor joins that department's queue, and the department calls them in when ready.
At the gate (front desk)
- Open Front Office → Visitors and click Register visitor.
- Enter the visitor's name, phone / ID and who/which department they're here to see.
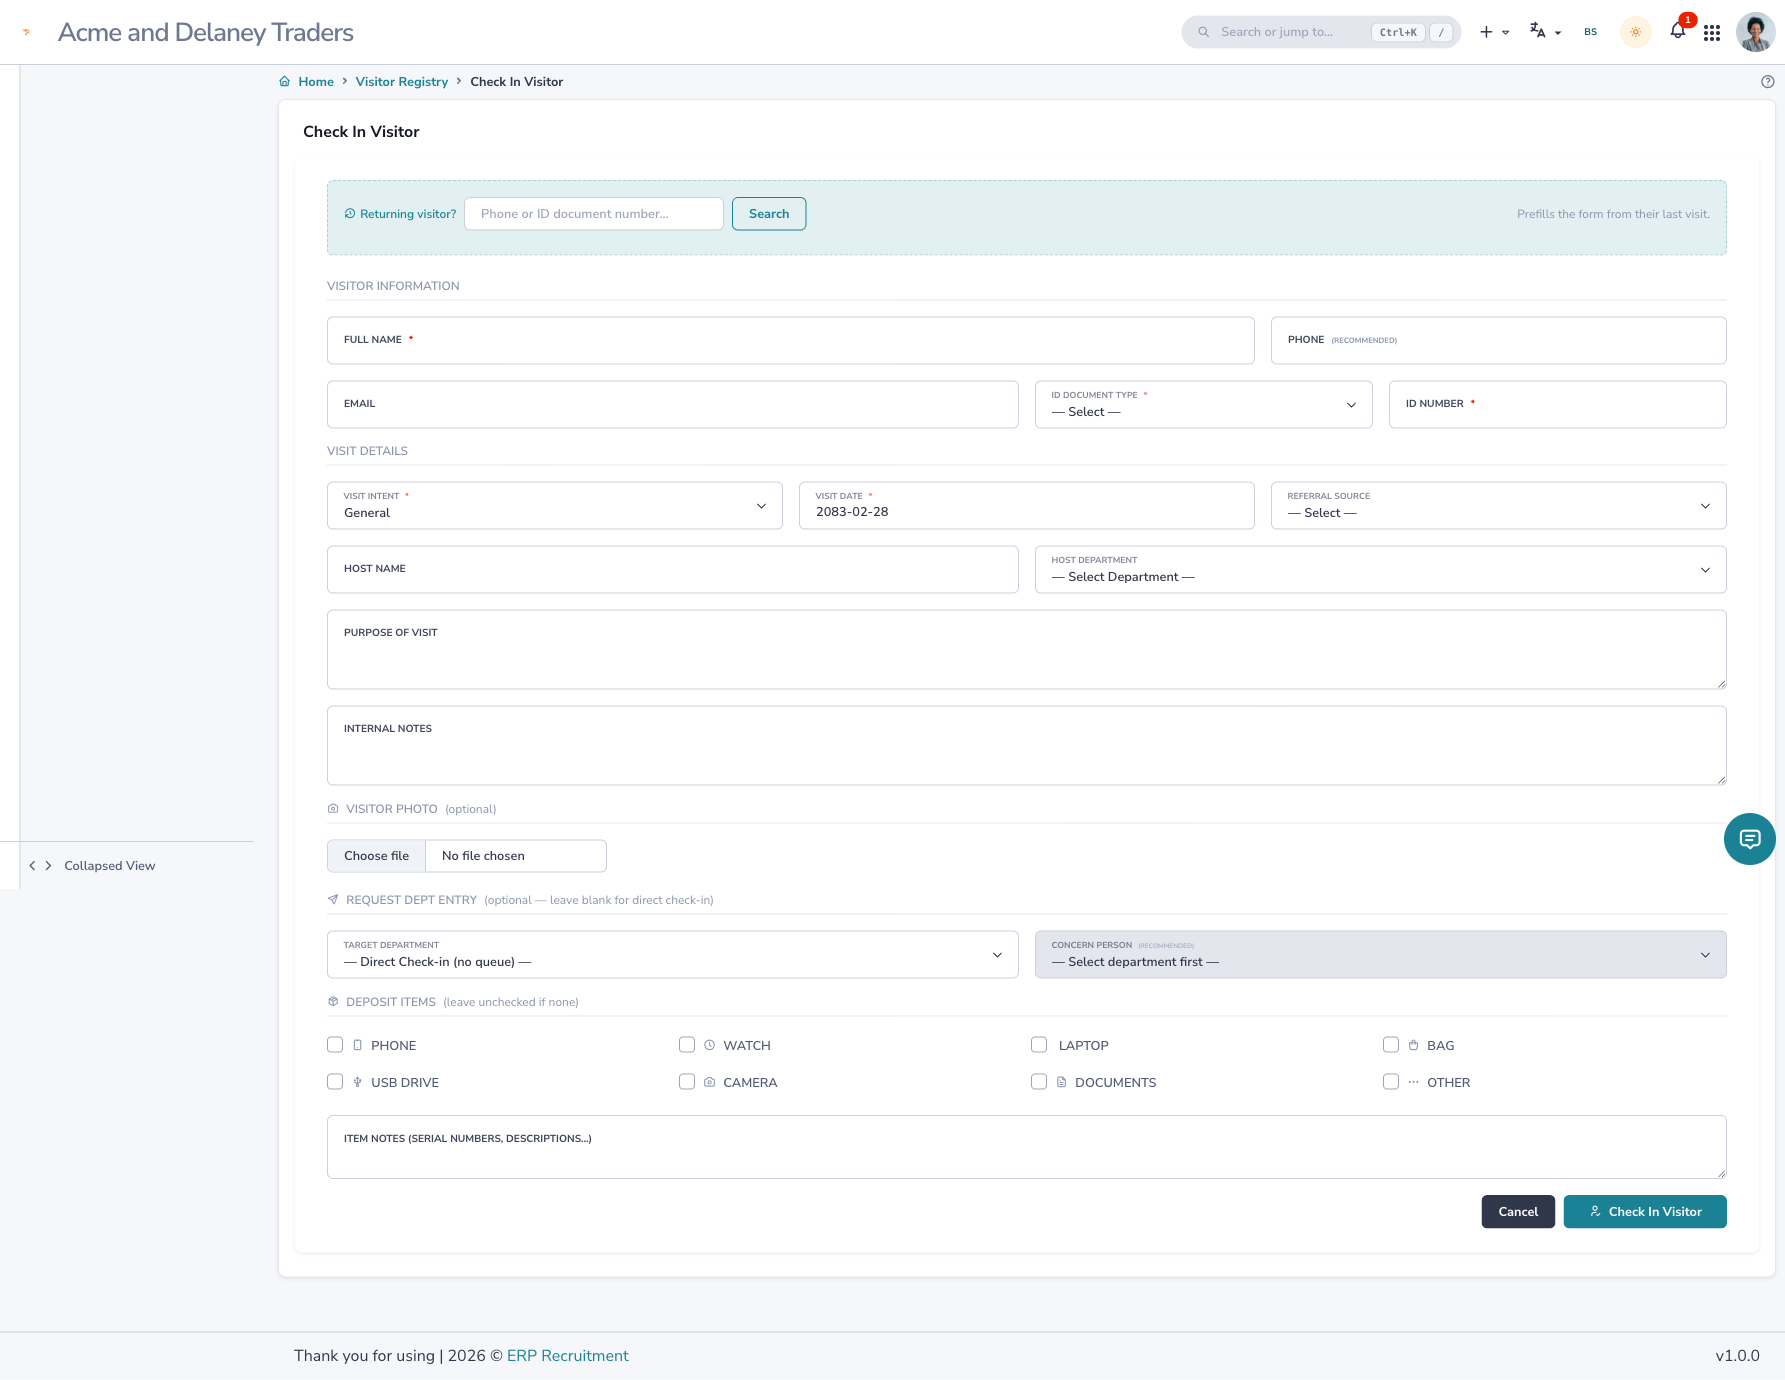
!!! tip "Returning visitors auto-fill"
    Type a known phone or ID and the form fills in the visitor's saved details — and their visit history is
    available to the person they're meeting.
- Submit. The concerned person/department gets a notification in their bell with View / Approve / Reject.
Approve / reject (the concerned person)
Open the bell notification:
- View shows the visitor's full history — past visits, which departments they met, what was discussed, and (for a candidate) their process/applications. Payment details are visible only to Accounts & Counselling.
- Approve → the visitor is placed in your department's queue and the gate is told the queue number.
- Reject → the gate is notified to reassign the visitor to someone else.
Call & enter
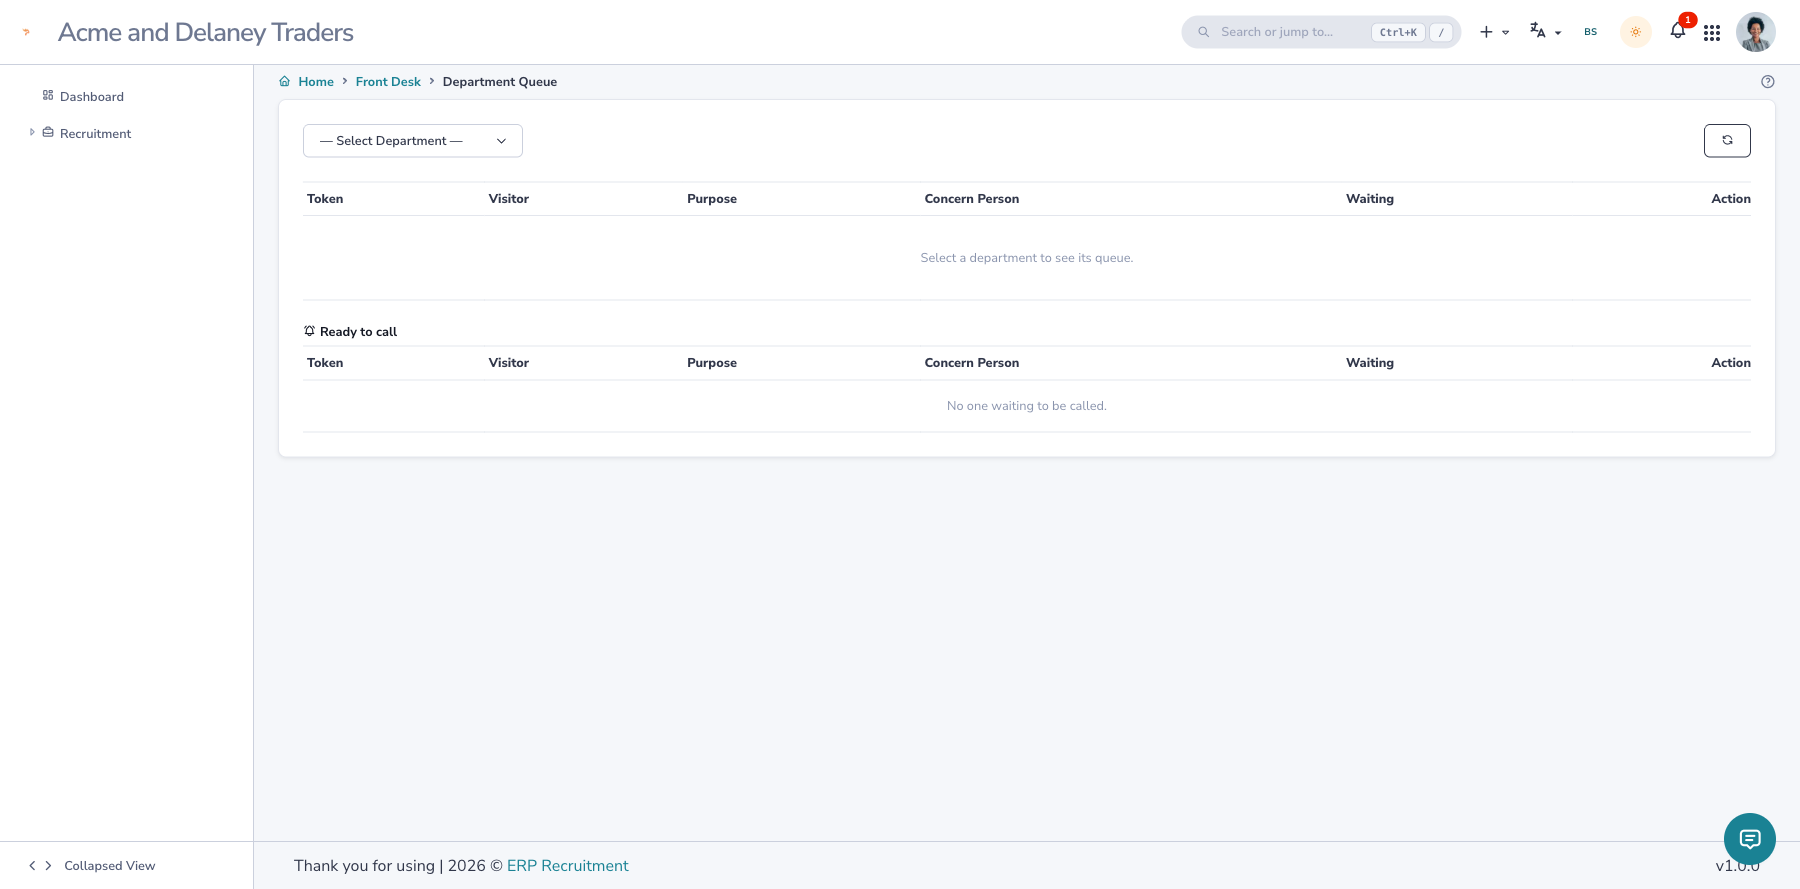
- When you're ready, open the department Queue board and Call any waiting visitor (you don't have to call in strict order). The gate is notified of who to send.
- The gate clicks Enter to send the visitor in — the meeting starts.
End the meeting
When the meeting is done, the host records the outcome:
- Click End meeting & exit.
- Add the compulsory discussion notes and an optional follow-up date (use the calendar — AD or BS).
- Submit — the visitor is marked as exited.
Reassigning auto-exits
Sending a visitor to a different department automatically exits them from the current one, so the boards stay accurate.